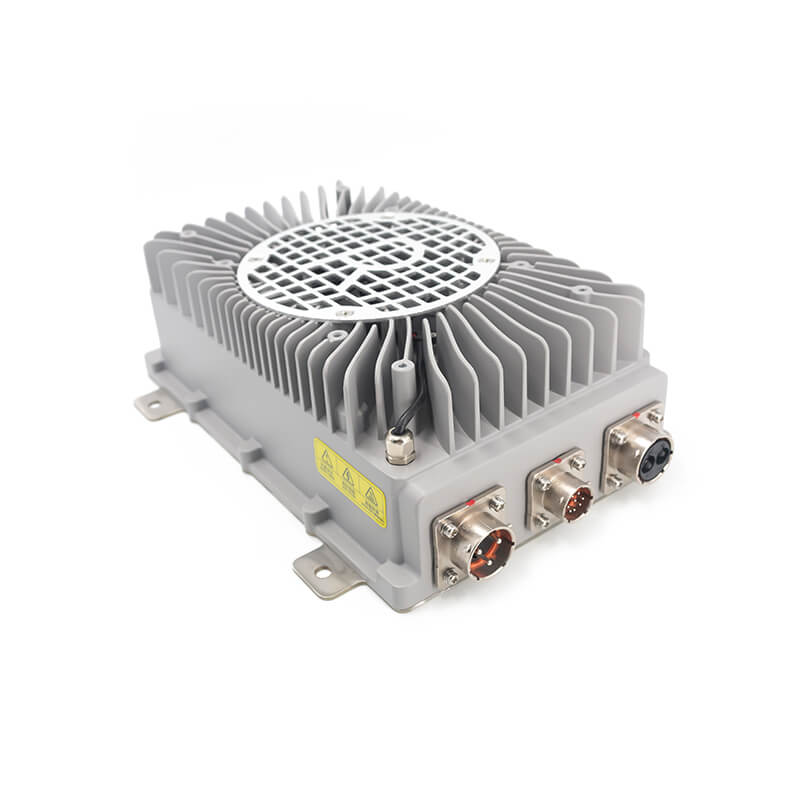
On-board Chargers
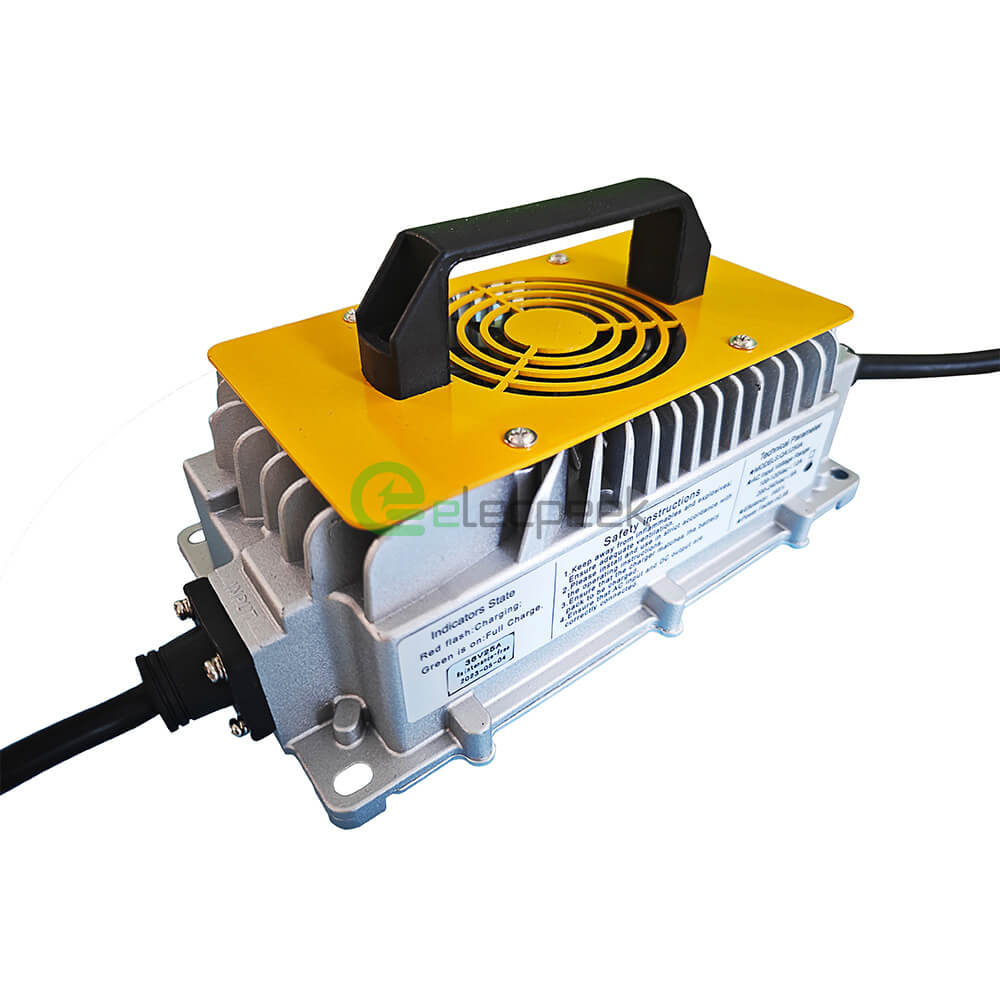
Portable Chargers
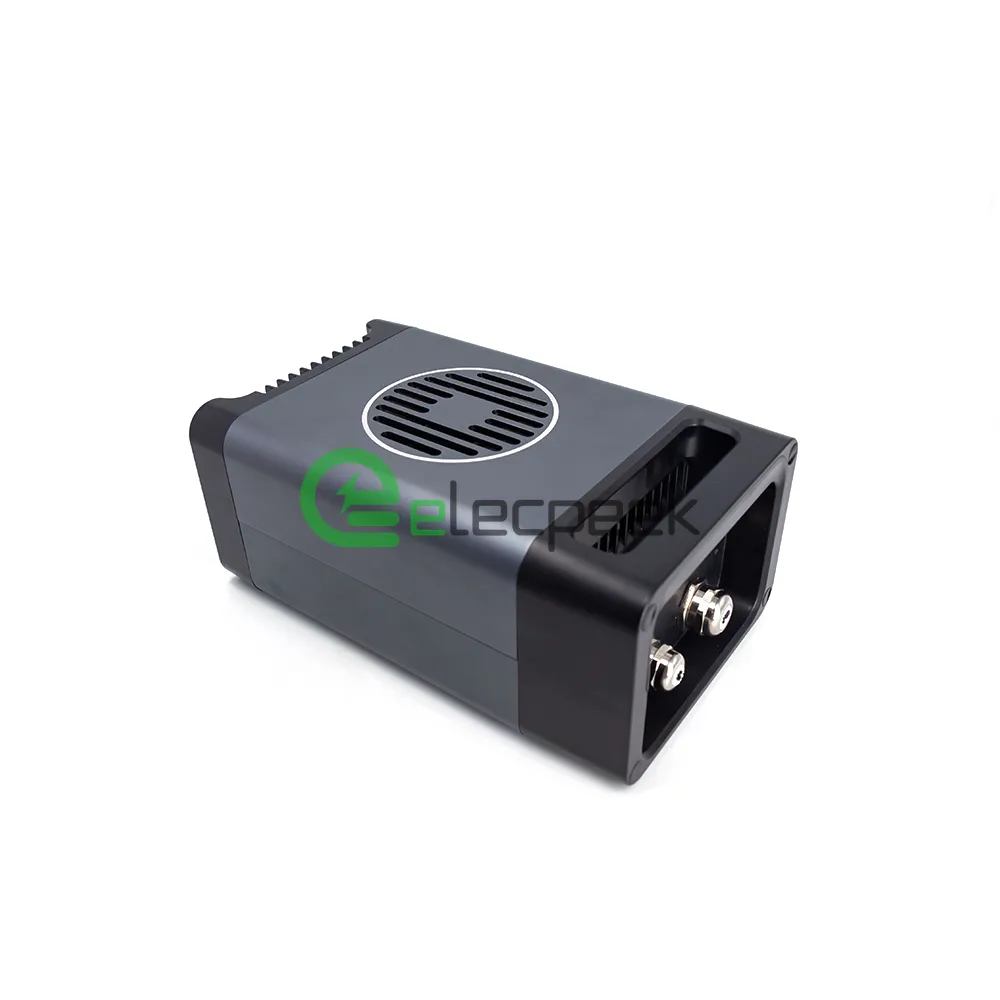
New Arrivals
As electric vehicle (EV) ownership grows, more homeowners are installing EV charging stations on their properties. For many, the question becomes whether to hire an electrician to install a charging station or do it themselves using an EV charging adapter. The good news is that installing an EV charging adapter is typically an easy, do-it-yourself project that can save money. However, there are a few factors to consider based on your technical skills and the specifics of your EV and home electrical system.
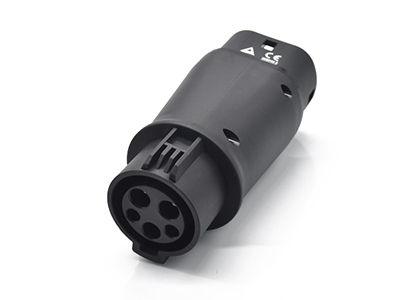
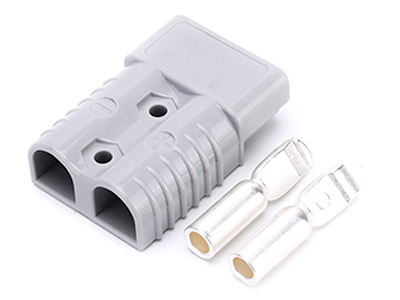
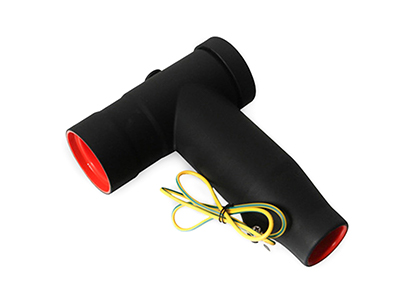
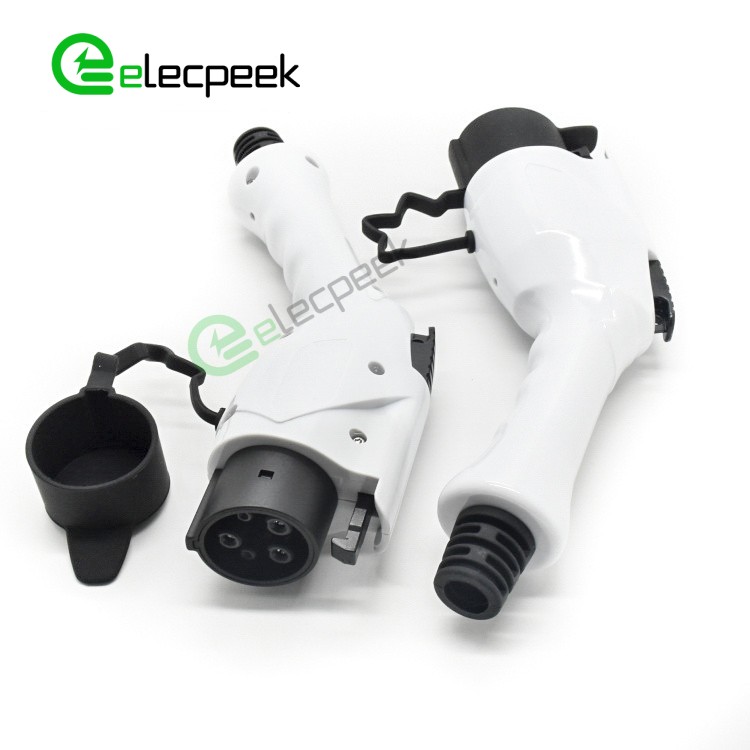
Before diving into the installation process, it’s crucial to understand the purpose of an EV charging adapter. These adapters allow you to charge your electric vehicle using different types of charging stations or power sources. They come in various shapes and sizes, depending on the charging standard and plug type required for your EV.
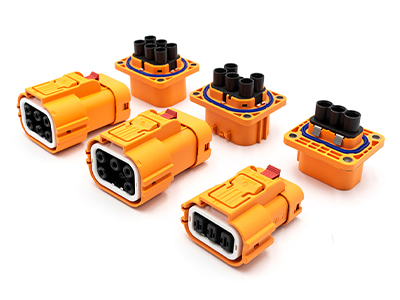
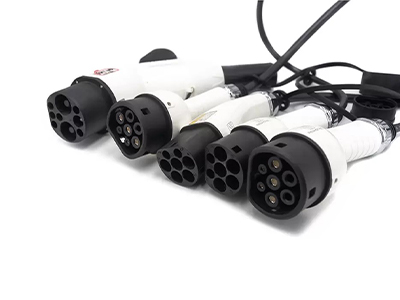
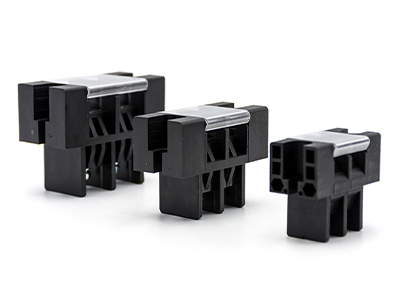
There are three main types of EV charging adapters:
Before installing an EV charging adapter, you need to determine which one best suits your needs. Some factors to consider include:
The first step is to determine what type of EV charging your vehicle can utilize and what your home’s electrical system can support. Most affordable EVs use Level 1 or Level 2 charging, while some newer models are compatible with faster Level 3 DC fast charging. The power level essentially determines how long it will take to charge your EV’s battery. Level 2 is the most popular for home charging and provides 10 to 20 miles of range per hour of charging.
For Level 2 charging at home, you’ll want to ensure your home’s electrical panel has enough spare capacity to supply a continuous stream of power for 3 to 6 hours or more. If your home has 200-amp or higher service, installing a Level 2 EV charging adapter should work fine. If your service is lower, it’s best to have an electrician evaluate if an upgrade is needed.
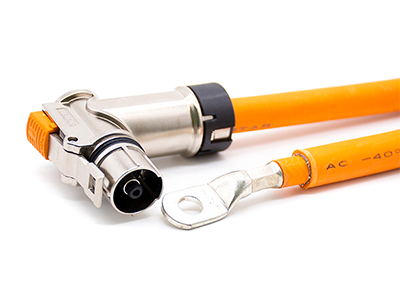
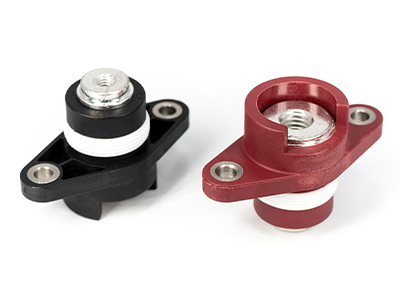
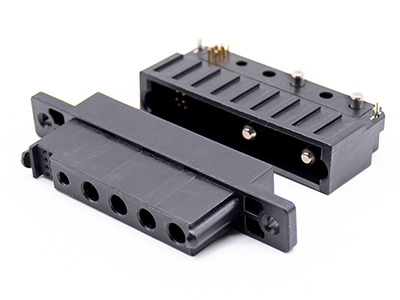
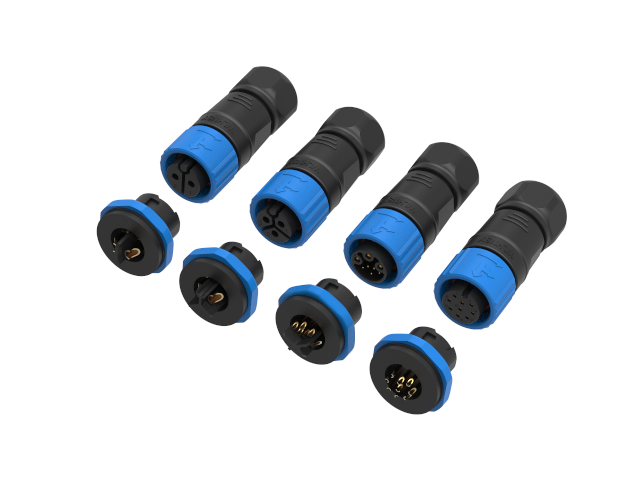
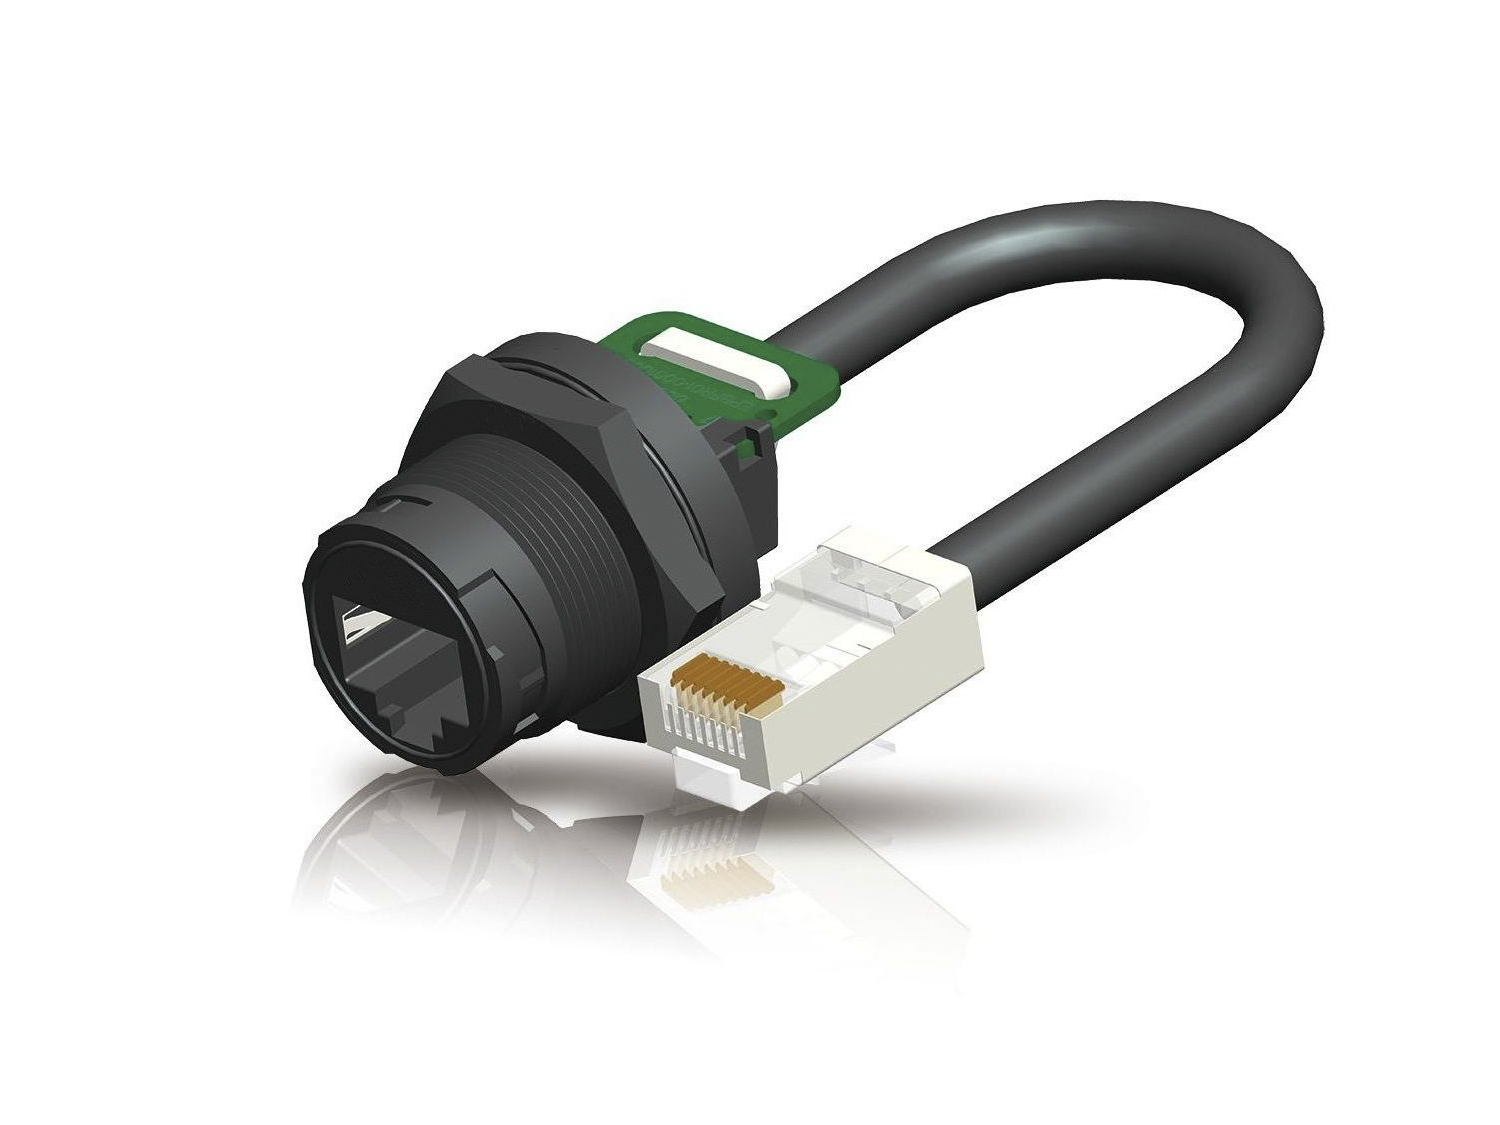
With your needs and capacity determined, you can choose an EV charging adapter that will work with your vehicle’s charging port type and your home’s outlet options. The most common types of EV charging adapters are:
The specific adapter you need will depend on the make and model of your EV. Check your owner’s manual or the manufacturer’s website to determine which option is compatible with your EV’s on-board charger.
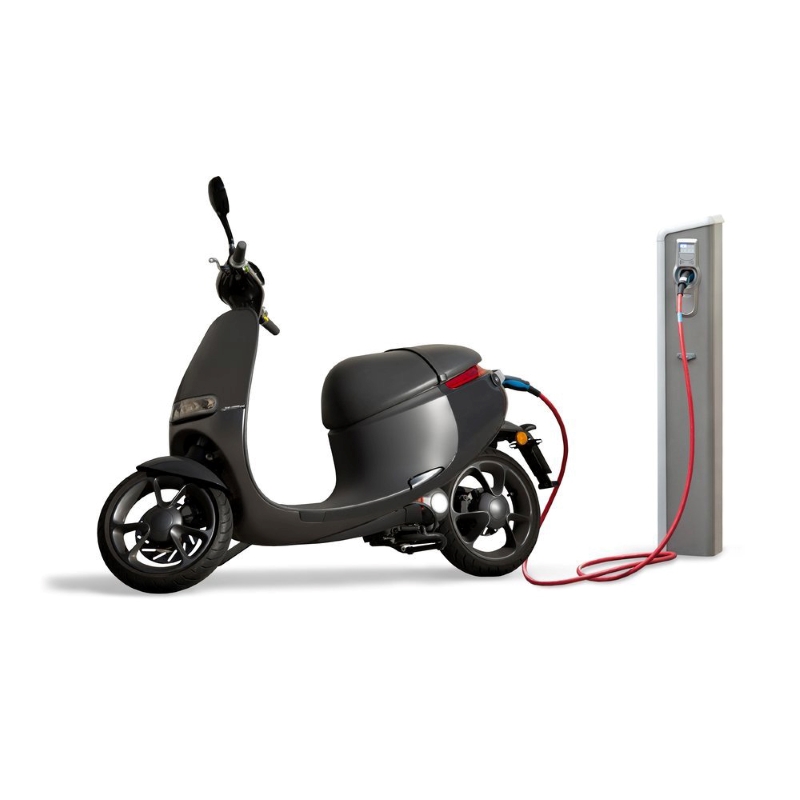
EV charging adapters are designed to simply plug into your existing home outlet or charging station – so installation truly is plug-and-play. No rewiring or panel upgrades are required to plug in an adapter. However, for the fastest charging, it’s best if you do have a 240-volt outlet, especially a NEMA 14-50 outlet. If there’s not an outlet already in place near where you park, it’s a good idea to have an electrician install one.
Some additional tips for a safe and easy installation:
Installing an EV charging adapter can be a relatively simple process, but professional help is recommended for a safe and efficient setup. Here’s a step-by-step guide to installing a Level 2 charging adapter, which is the most common home charging option.
Before installing a charging adapter, you need to ensure that your home’s electrical system can support the additional load. Consult with a licensed electrician to evaluate your system and determine if any upgrades are required.
Select a convenient and accessible location for your charging adapter, preferably near your parked vehicle. Ensure that the area has enough space for the charging cable to reach your EV without any obstructions.
A dedicated circuit is necessary to provide power to your Level 2 charging adapter. Your electrician will install a new breaker in your electrical panel and run a dedicated line to the location you’ve chosen for the charging station.
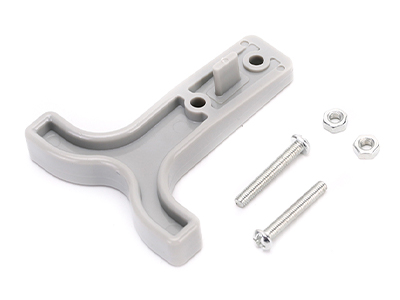
Once the dedicated circuit is in place, mount the charging adapter to the wall, following the manufacturer’s instructions. Ensure that it’s securely fastened and at a suitable height for easy access.
Your electrician will then connect the charging adapter to the dedicated circuit, ensuring that all electrical connections are secure and up to code.
Finally, test the charging adapter to ensure it’s functioning correctly. Plug your EV into the charging station, and monitor the charging process to confirm that everything is working as expected.
Installing an EV charging adapter can be a straightforward process, provided you choose the right adapter for your needs and seek professional help for a safe and efficient setup. By following the steps outlined in this guide, you can easily install an EV charging adapter at your home or workplace, ensuring a seamless charging experience for your electric vehicle.